Ahhh, the crazy tiled bathroom post. I love this one!
Creativity is not without it’s challenges, so let me tell ya about it. These beautiful city houses often have a leak in their system with their teeny tiny bathrooms. So it was with our Walnut Street house. The bathroom was so tiny you could hardly turn around in it, literally.
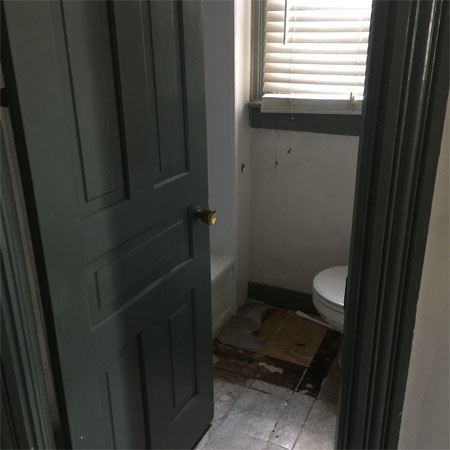
The first time Chris, Becca & I got in there – we were measuring & dreaming & we managed to scheme up a much better layout. We busted out the back bathroom wall, making it a few feet bigger. The office behind it lost a few feet – but we won’t tell, if you won’t. We also magically changed the swing of the door & switched the hinges to the opposite side of the door.
It was a small but powerful effect – I so dislike when a door hangs open & the toilet is in view. It’s certainly not the most attractive thing & it also makes me wonder why we live in the most advanced age but still can’t make toilets attractive enough that they get published in magazines. Oh well.
As for all the deets:
Vanity: I really wanted a custom vanity, but as all us common folks know, they are super pricey & hard to come by. So we decided to try our hand at creating our own. I’m pretty proud of how this thang turned out.
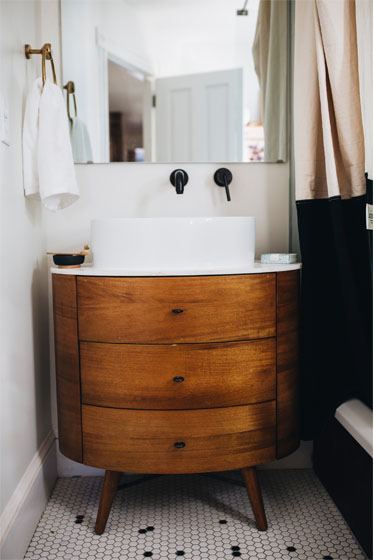
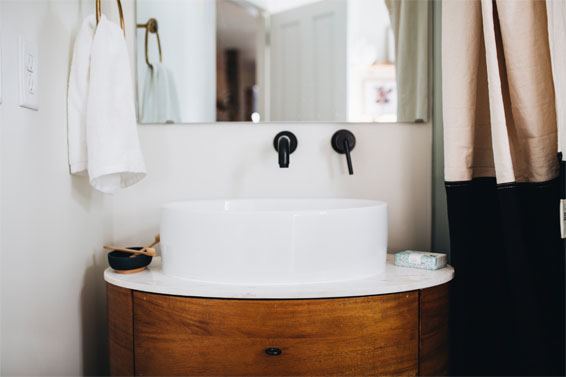
We snagged Penelope, a modern, yet simplistic, nightstand from West Elm & had Dylan turn it into the vanity you see today.
What a cutie. She turned out quite well. Also, thanks so a West Elm Outlet representative, I learned that Penelope is pronounced “Penn-el-eh-pee” & not “Pen-eh-lope” – so that was a nice bonus.
Tub: To create more of a bold look, we painted the outside-bottom of the tub a matte black. I originally wanted to powdercoat the whole tub black, but it would have been a beast to haul out & haul back in again, so we settled for just the exterior.
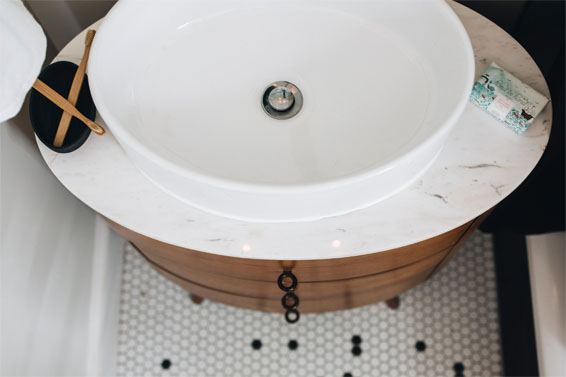
Crazy Tile: I do love a good tile floor. The hardwood floor in the bathroom wasn’t in good shape, so after a few failed attempts at purchasing tile (Example: my ideal tile for this bathroom had a shipping cost of $400 that they didn’t tell me about till right before I hit the “purchase” button. UGH! So obviously I didn’t buy it & had to switch plans last minute)
Somebody someday please explain to me why all the most beautiful things are the most expensive things?
Anyway, so we got this crazy tile idea in our heads & I told Jer & Chris what I was envisioning for this floor – “ya know, just make it look random, like you threw a whole bunch of loose tile on the floor” – then I let them loose. We thought it would be quite simple, but uh, as we often discover, it was quite the contrary.
Apparently, making crazy tile look scattered & unplanned is harder than it seems. Chris came home one night after working on it all day & proclaimed “I’m ripping up all this tile, it’s not gonna work…”
If ya know him, ya know he doesn’t say things like that, so it was a real stoke killer. Alas, they persevered & it turned out perfect. Way to go boys.
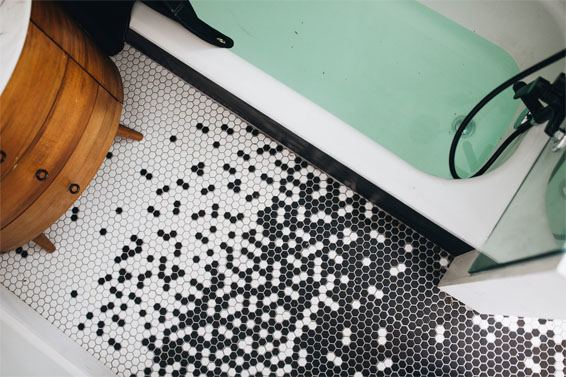
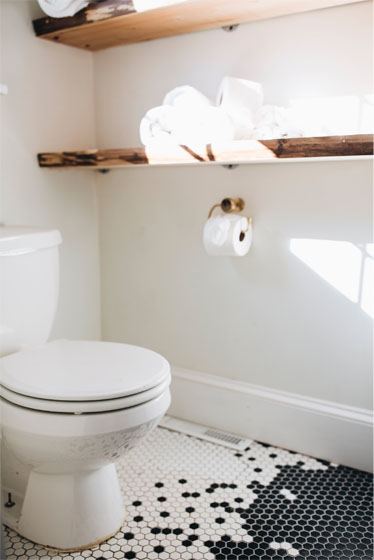
It’s a tile floor for the books.
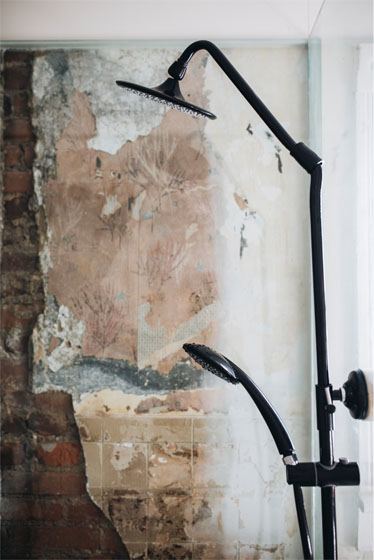
Museum Glass:
The first few weeks of a house renovation it’s intense demo. The boys eat dust for how-many-weeks-straight & man up with shovels & brick-exposers & whatever else.
Now, I love Chip & Jo as much as the next guy, but lemme tell ya, those demo weeks aren’t as easy & simple as Chip’s glorious “demo-day” makes it out to be.
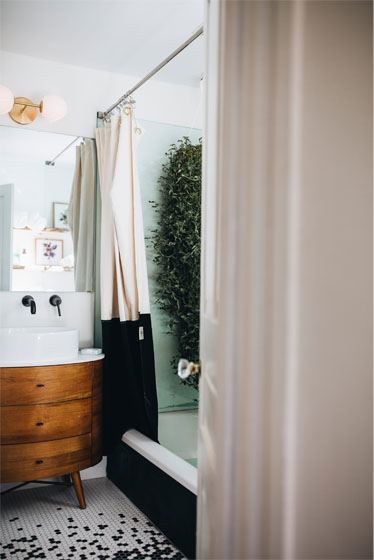
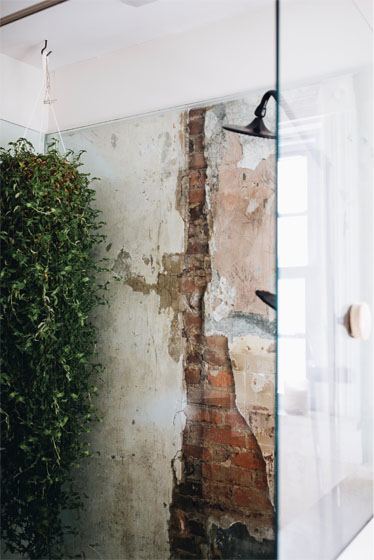
Anyway, all that to say, our crew is amazing & we had a plan to tile the wall behind the shower. Until we saw that crazy old wallpaper/plaster/1900’s museum remnants & started talking about what if we put a glass panel on top of it instead of tile. Every great idea starts with just that, an idea. This idea for instance, put us severely over budget on this project, but we just had to risk it for the biscuit if ya know what I mean 🙂
We worked alongside amazing glass fabricators who cranked out some legit glass pieces for our museum wall.
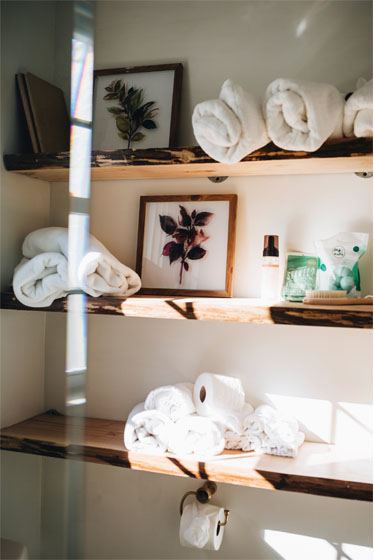
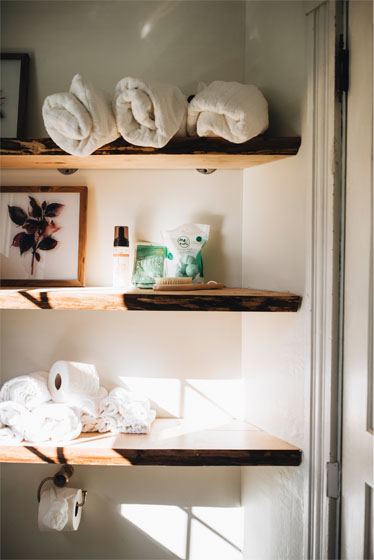
Live edge:
As mentioned in the Walnut Street Kitchen post – live edge wood wood was an accent that we decided to weave into this house. So in this small bathroom, we lined the one wall with shelving to help the next homeowners out space-wise. No need to thank us 😉
And since green was our accent color, we added kale coloring to the bathtub & threw in a hanging plant. Lemme just say, that plant loved it in the shower & I think it would work long term 😉

We can’t wait to introduce you to the rest of the Walnut Street House Renovation. If you haven’t yet had a chance, check out our Kitchen Blog Post. We did something a little different and painted our cabinets green… so you really should head over and see the result of another one of our crazy ideas. We think you’ll love it. And now, for the sources!
Sources:
Plant: Purchased from our local branch of Ken’s Gardens
Gold Towel Ring & Tp Holder: Discontinued Anthropologie line but similar style here
With love, Claude